
Back in the day, our high school had gravy and fries on tap at all times.
Why You’ll Love This Recipe
- No drippings needed: all the turkey flavor comes from stock you make ahead, so it works with a spatchcocked or smoked bird.
- One less thing on the day: roast, simmer and thicken on a relaxed afternoon, not while whisking in front of an audience.
- One pan, hands free: almost all the cook time is passively waiting for roasting and simmering.
At a glance
| Flavor Profile | Deeply savory and turkey-forward from the roasted neck and backbone, with a nutty, buttery roux and plenty of black pepper |
|---|---|
| Make Ahead Tips | Make it up to 3 days ahead in the fridge or 3 months ahead in the freezer |
| Storage | Keeps up to 3 days in the fridge or 3 months in the freezer |
| Reheating | In a saucepan over medium-low heat with a splash of stock or water, whisking, then bring to a simmer |
| Difficulty | Easy |
| Pro-trick | Let it boil. Gravy won’t fully thicken and can taste floury until it bubbles for 2–5 minutes and coats the back of a spoon. |
Our cafeteria would serve whatever the meal of the day was, and it was sometimes good, sometimes not, but there would always be fries with gravy for anyone who couldn’t or didn’t want to eat the main meal. If you knew me back then, you knew I never got the main meal, so fries and gravy was basically the staple of my childhood.
So of course now as an adult, I LOVE gravy. As someone who loves poutine enough to seek it out on four continents as well as visit its spiritual home in Quebec, gravy is something I know. Gravy is second nature to me, but it wasn’t always. When I first started cooking (way back when) and I didn’t know what a roux was, let alone how to make a flavorful stock, I totally bought those little paper packets of gravy powder. You probably know the ones.

Nowadays I can make gravy in my sleep and I wish I could go back in time and teach young-me not to waste all those years on that powder, because gravy really is the simplest thing ever. The magic is all in a good whisk and super savory homemade stock. And the real secret is making it ahead of time instead of rushing at the stove just before dinner starts while the turkey is getting cold.
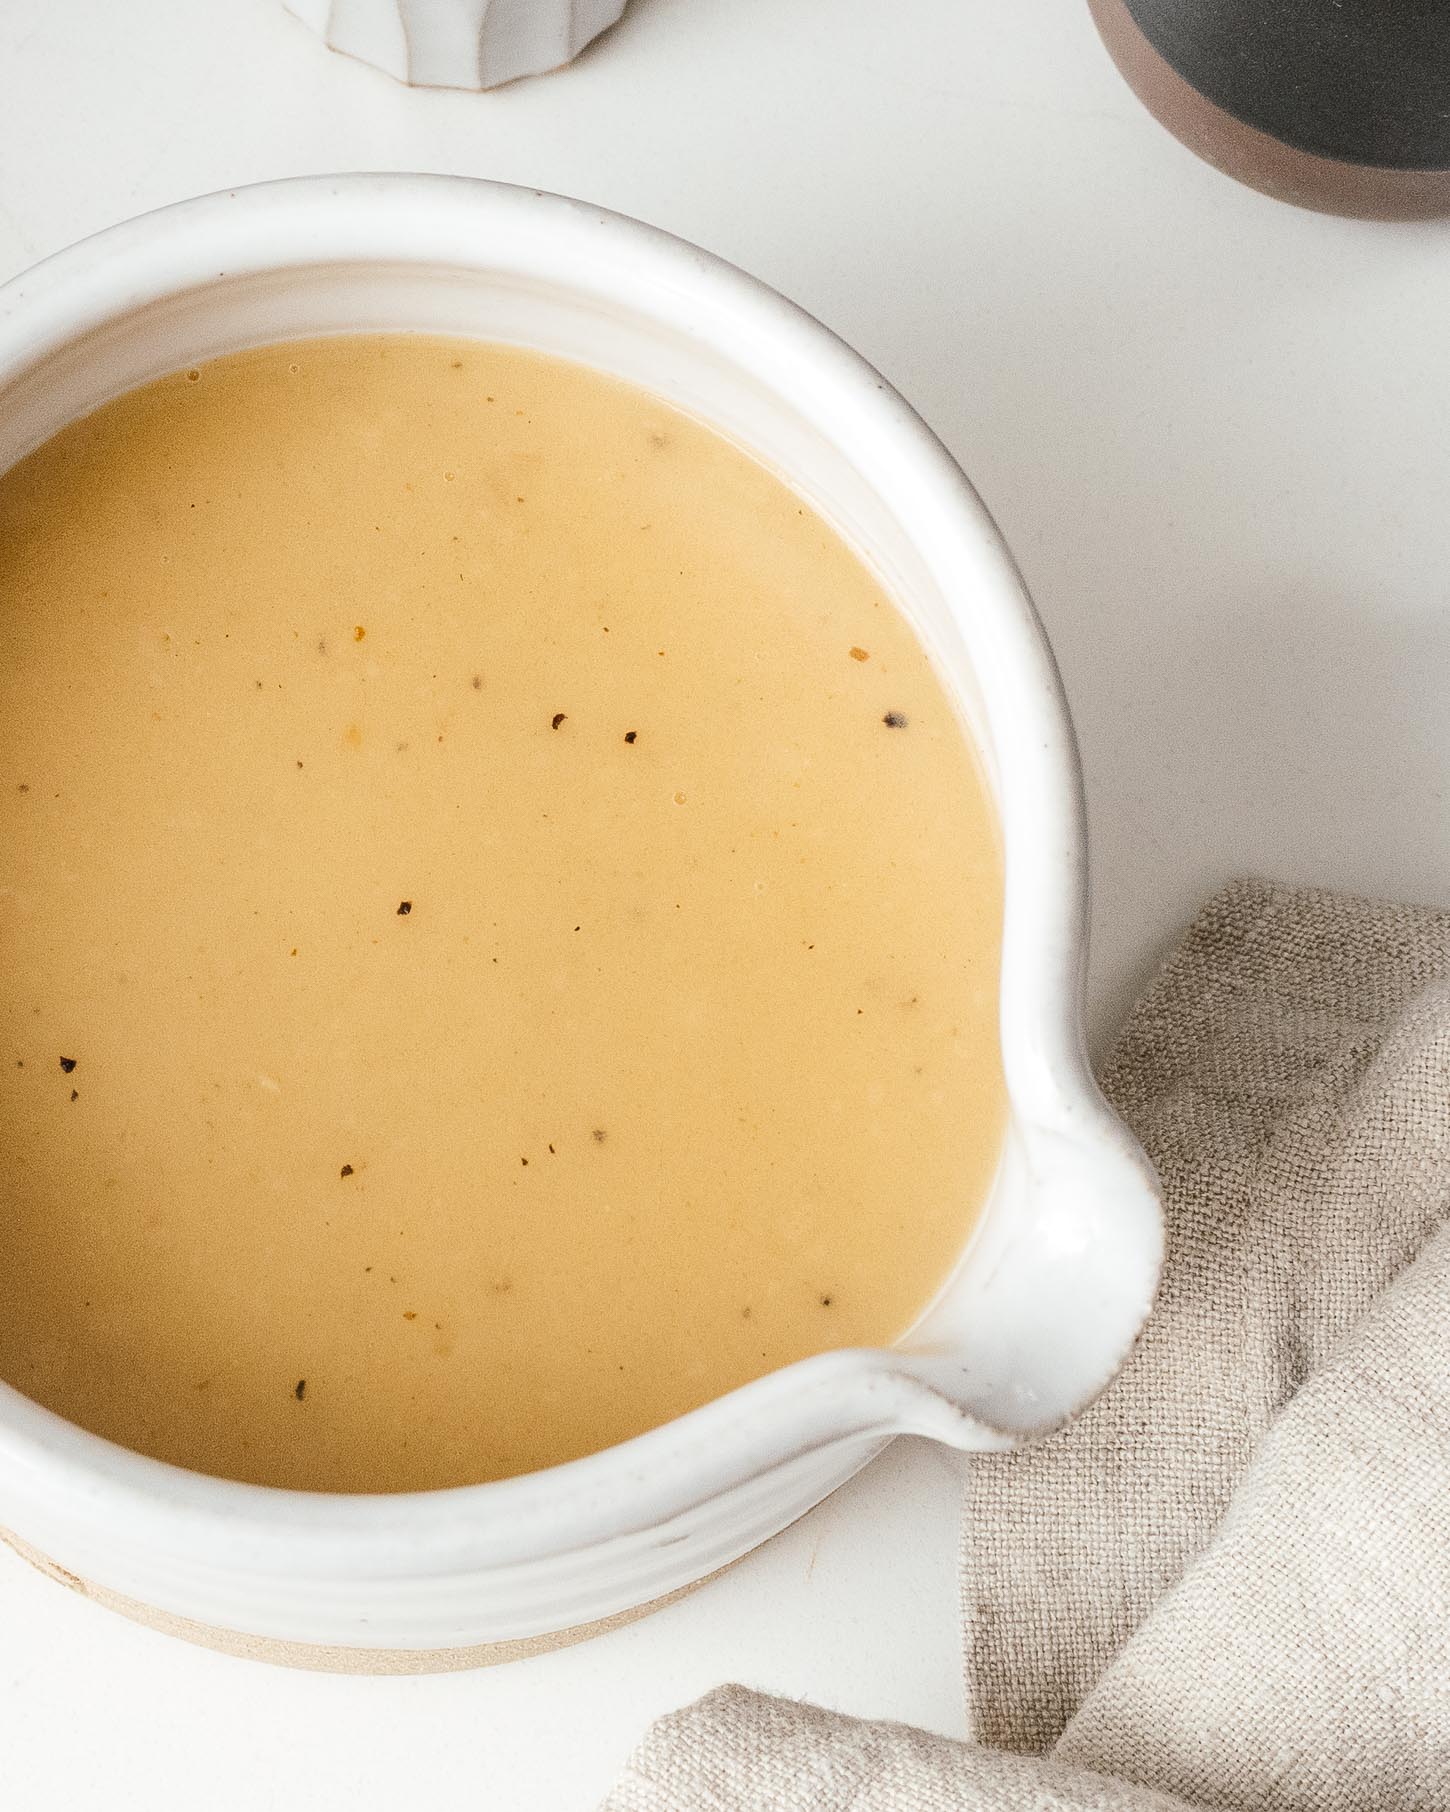
Make your gravy ahead of time
Gravy is one of those things that just makes sense to make ahead. No one wants to be whisking at the stove while people are over. Thankfully, gravy is absolutely one of the things you should make ahead. It’s one less thing to worry about during a holiday meal because it frees up the stove for those of us not fortunate enough to own a 16 burner french range.
Plus, making ahead makes a better end product just because you can take your time and give it a two hour simmer you’d never have time for on the day, which gives it body and more turkey flavor. You can roast, simmer, and thicken all in your own time, making it a relaxing afternoon instead of panic cooking while you have an audience.
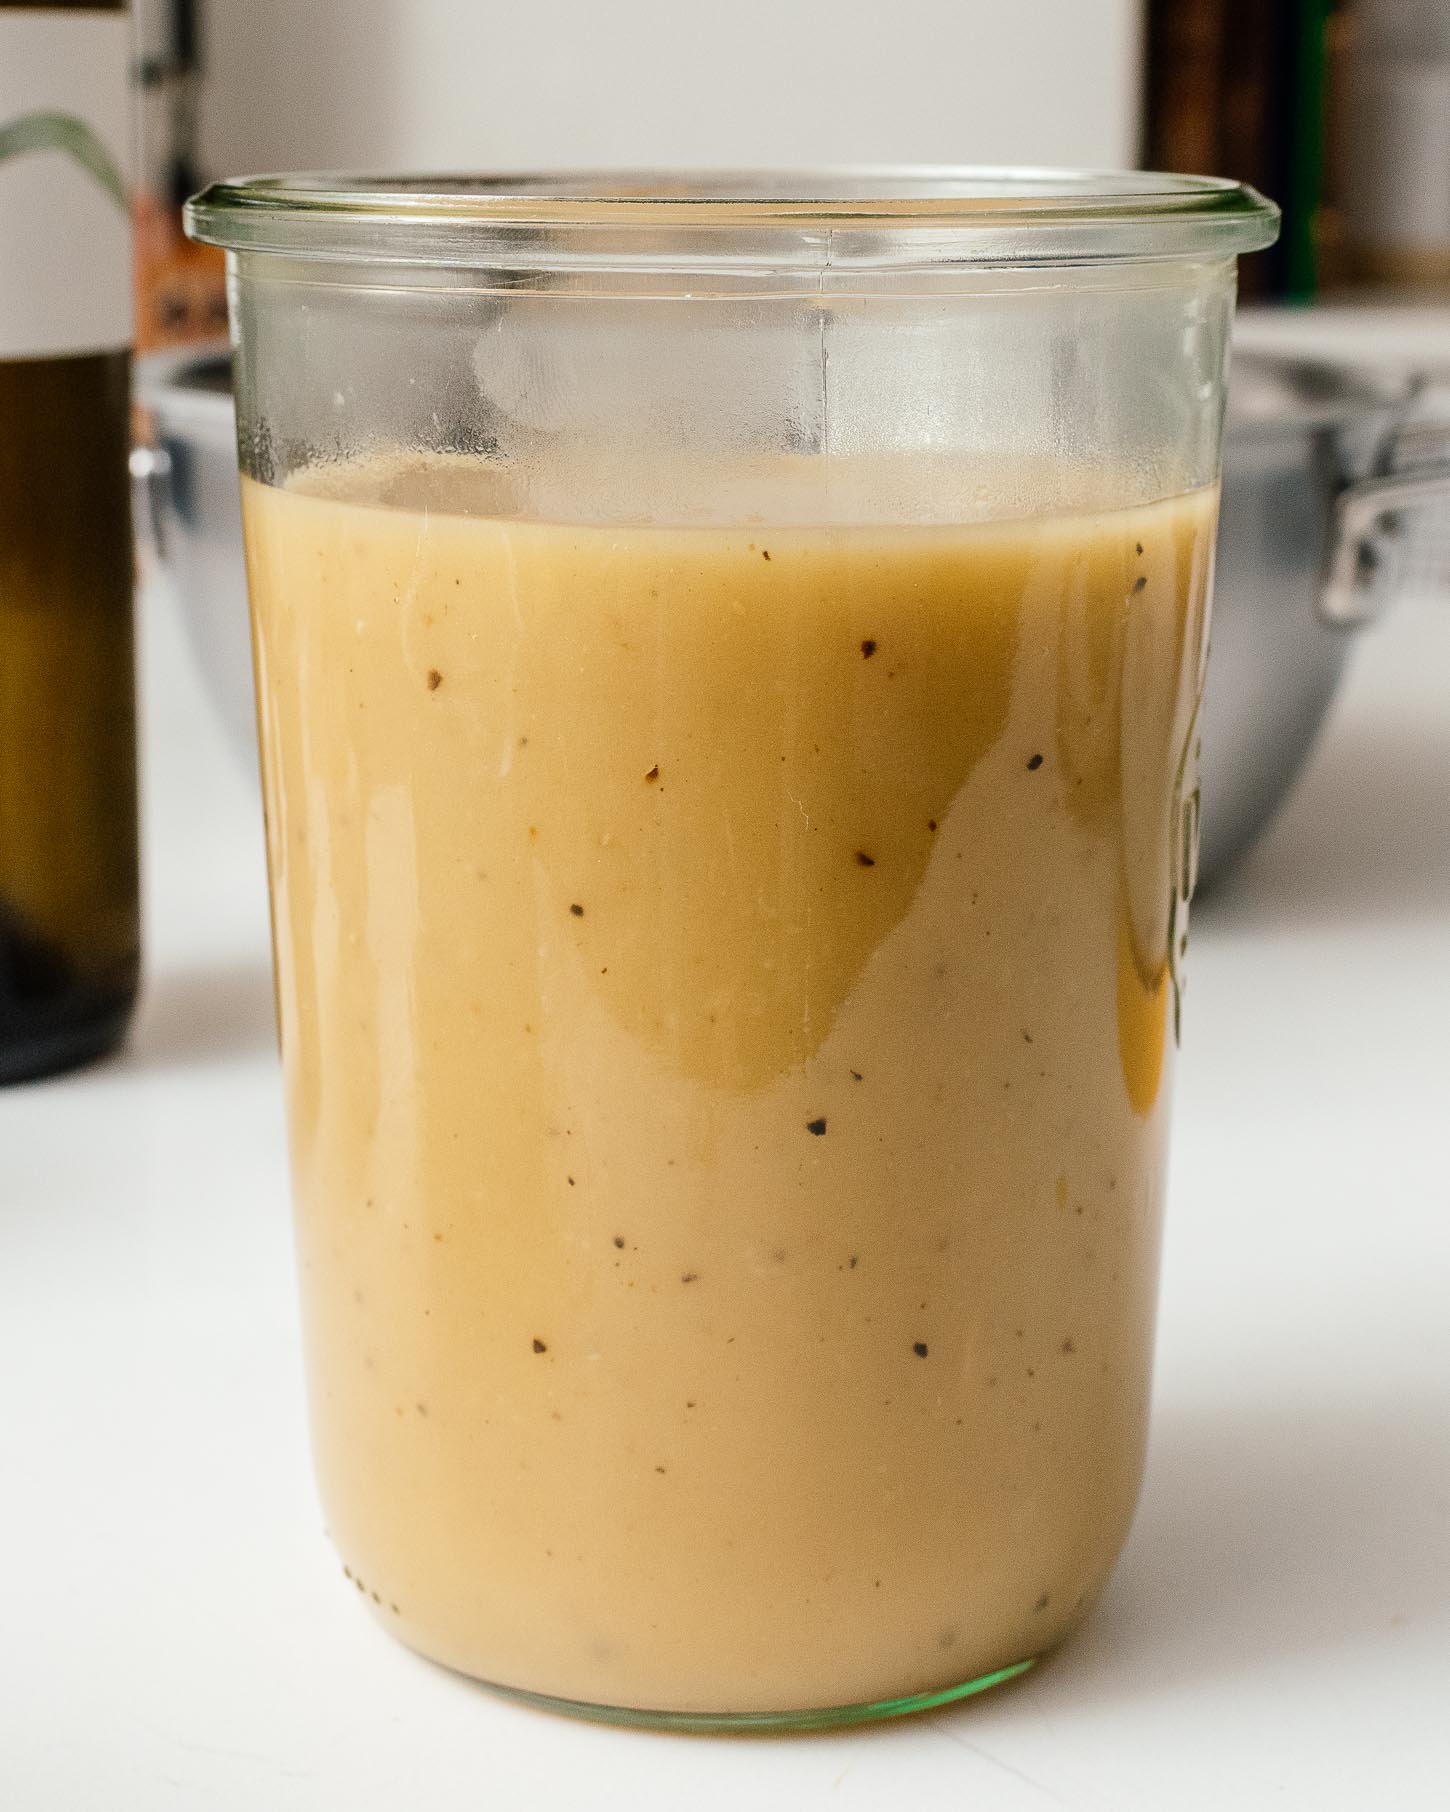
Turkey gravy without drippings
We’ve all been taught that you need the pan drippings to make gravy, but you don’t. This turkey gravy gets all of its flavor from this beautiful turkey stock that you make before the turkey even goes in the oven. If you know me, you know I think everyone should spatchcock their turkey because it just makes for a more flavorful bird, but that usually does mean you won’t get many drippings, so this gravy is the perfect accompaniment.
If you do have drippings you want to use, you can still add them day of, see the FAQ below.
The standard gravy ratio
For most gravies, I aim for not too thick and not too thin. To me the perfect gravy ratio is 2 tbsp fat to 2 tbsp flour for each cup of stock. If you always remember 2:2:1 (2 tbsp fat, 2 tbsp flour, 1 cup stock), you can make any amount of gravy whenever and wherever you want.
Make-ahead gravy ingredients
If you’re making specifically turkey gravy ahead of time, you’ll need at least some turkey parts.
- backbone – I particularly like turkey backbone gravy because it means you spatchcocked your turkey (which, imo is the best way to cook turkey) and it makes (imo again) the best stock. Bonus: if you have the turkey backbone and the neck, you’ll end up with a super flavorful gravy.
- neck – for make-ahead, the easiest thing to do is to reach inside the cavity of your defrosted turkey and grab the turkey neck. A single neck won’t get you to the two pounds called for in this recipe, so if you’re not spatchcocking, pick up some wings too.
- wings – if you don’t have your turkey yet and you spy turkey wings or turkey wing tips at the grocery store, grab them. They’ve got collagen, they’ve got fat, and they make an excellent bone broth for gravy. Wings also allow you to make and freeze your gravy weeks ahead of time, since they won’t depend on having a defrosted turkey around.
How to make turkey gravy ahead of time
Roast
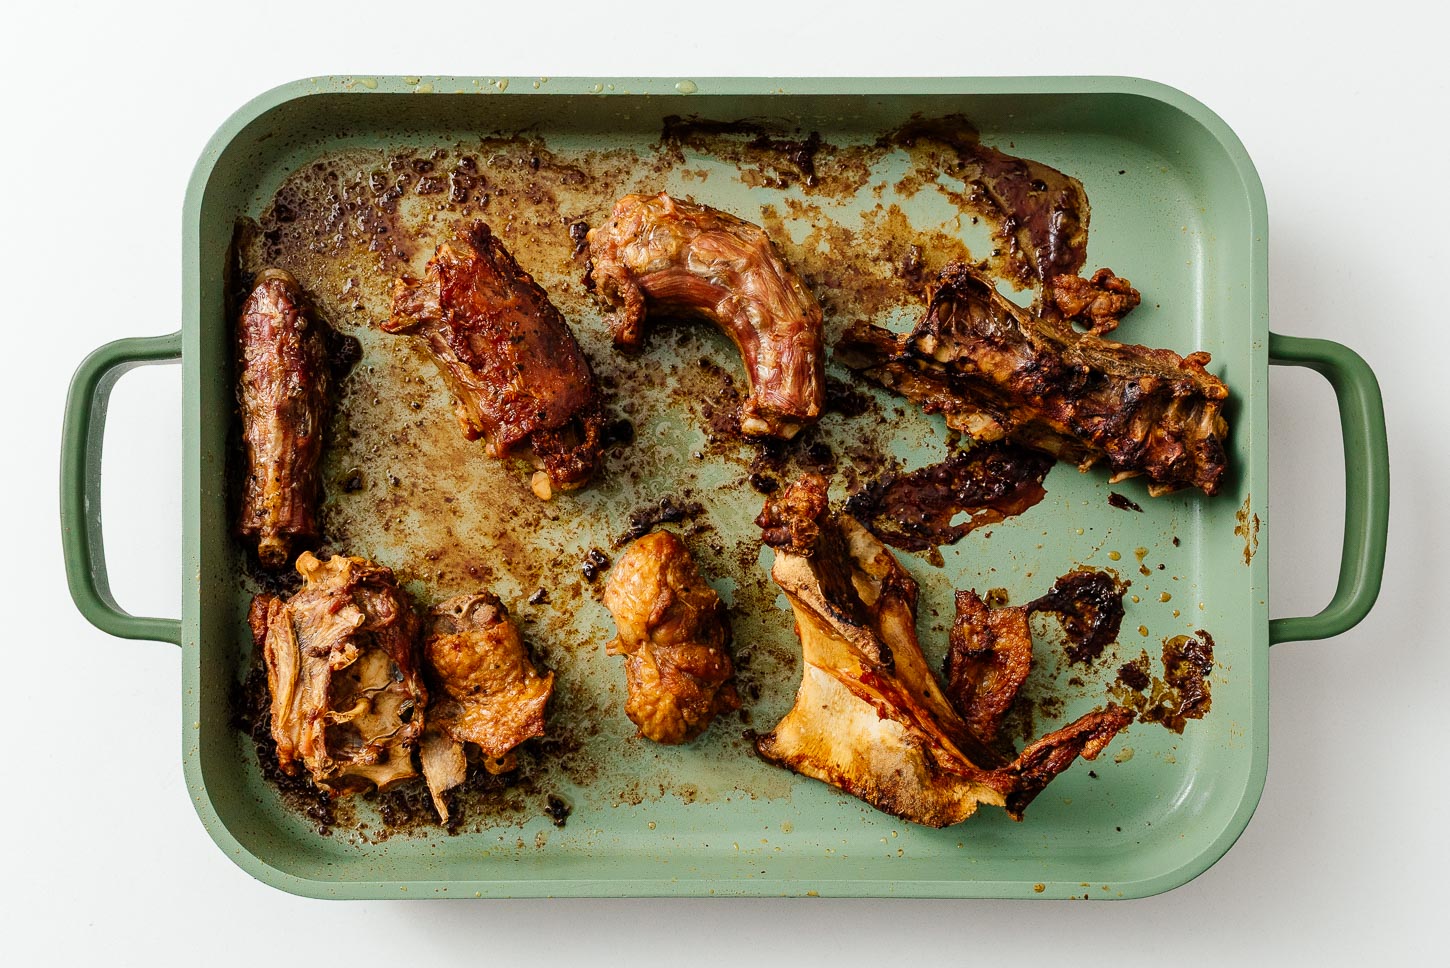
Heat the oven to 350°F. Cut the neck and backbone into manageable pieces if needed, then place inside an oven proof pan. The ideal pan is a metal-handled 5 quart deep saute pan. Lightly season with salt, pepper and neutral oil. Roast until the turkey bits are golden and deeply caramelized (1.5 – 2 hours).
Deglaze
Transfer the turkey bits into a bowl and set aside. Deglaze the pan with 1/4 cup water, using a wooden spoon to scrape up all the browned bits. Turn the heat on low, if needed. Set aside to cool.
Saute
Add oil to a 5 quart sauce pan – it can be the one you roasted the turkey in if it’s the right size, just transfer the deglazed fond to a measuring cup. Heat the oil over medium high until hot and shimmery. Add roughly chopped carrots, celery, and onion, and cook, stirring occasionally, until the aromatics start to sweat and smell amazing (5-6 minutes).
Simmer
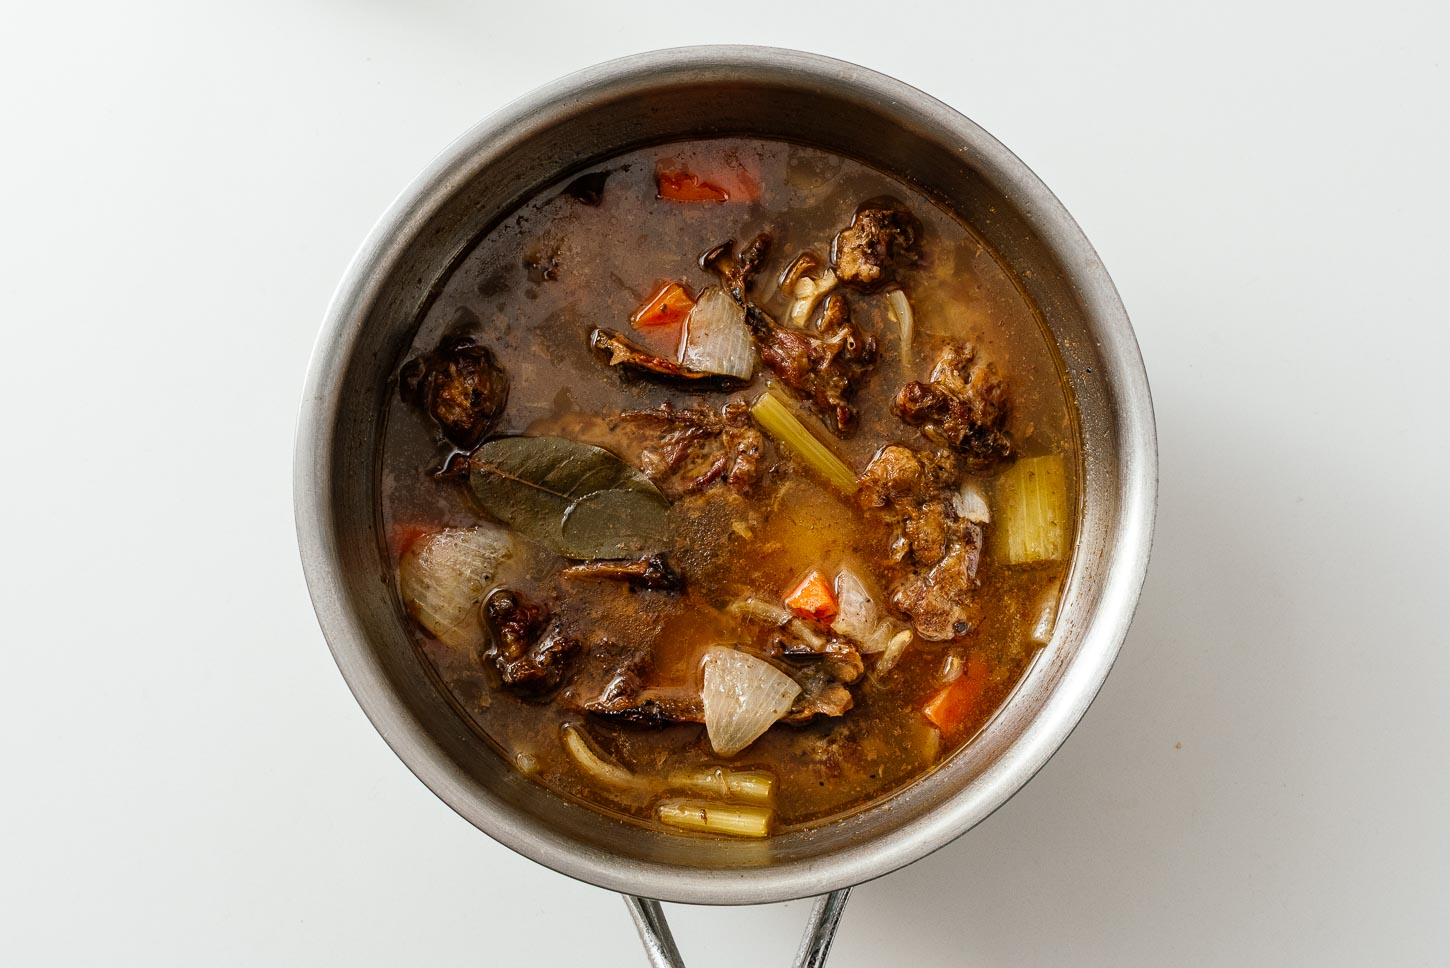
Add the roasted turkey, along with the deglazed fond to the pan. Cover with water (or low sodium chicken stock, if desired). Add a bay leaf and bring to a boil, then turn down to a bubbling simmer. Let simmer, uncovered, until reduced by half (1.5-2 hours).
Strain
Transfer the turkey bits to a bowl and set aside (I like to use tongs). Strain the stock with a fine mesh sieve. Be sure to put something under your strainer! I like to strain directly into a liquid measuring cup large enough to hold the stock. If you follow the recipe without scaling, you should have 3 cups of stock. Taste and lightly season the stock with salt and pepper. If you have less than 3 cups, top it up with chicken stock or water. If you have more, reserve the extra for reheating.
Harvest (optional)
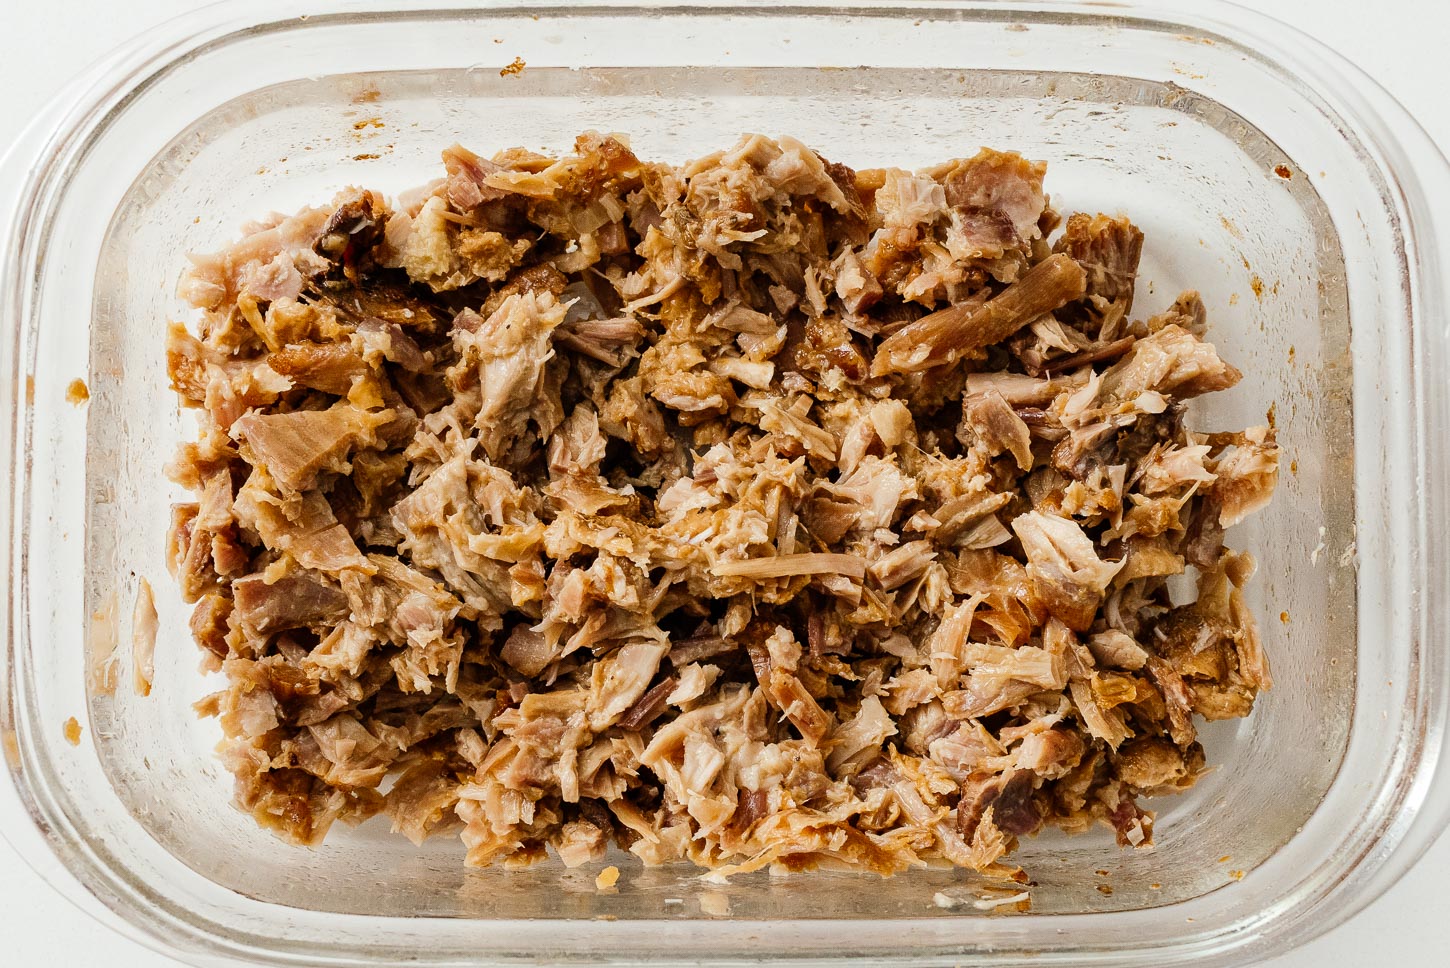
The turkey bits should be cool by now and this is an optional step, depending on if you like smooth gravy or gravy with bits in it. Harvest the meat from the bones, roughly chop, and reserve in the fridge, tightly covered, for up to 3 days.
Roux
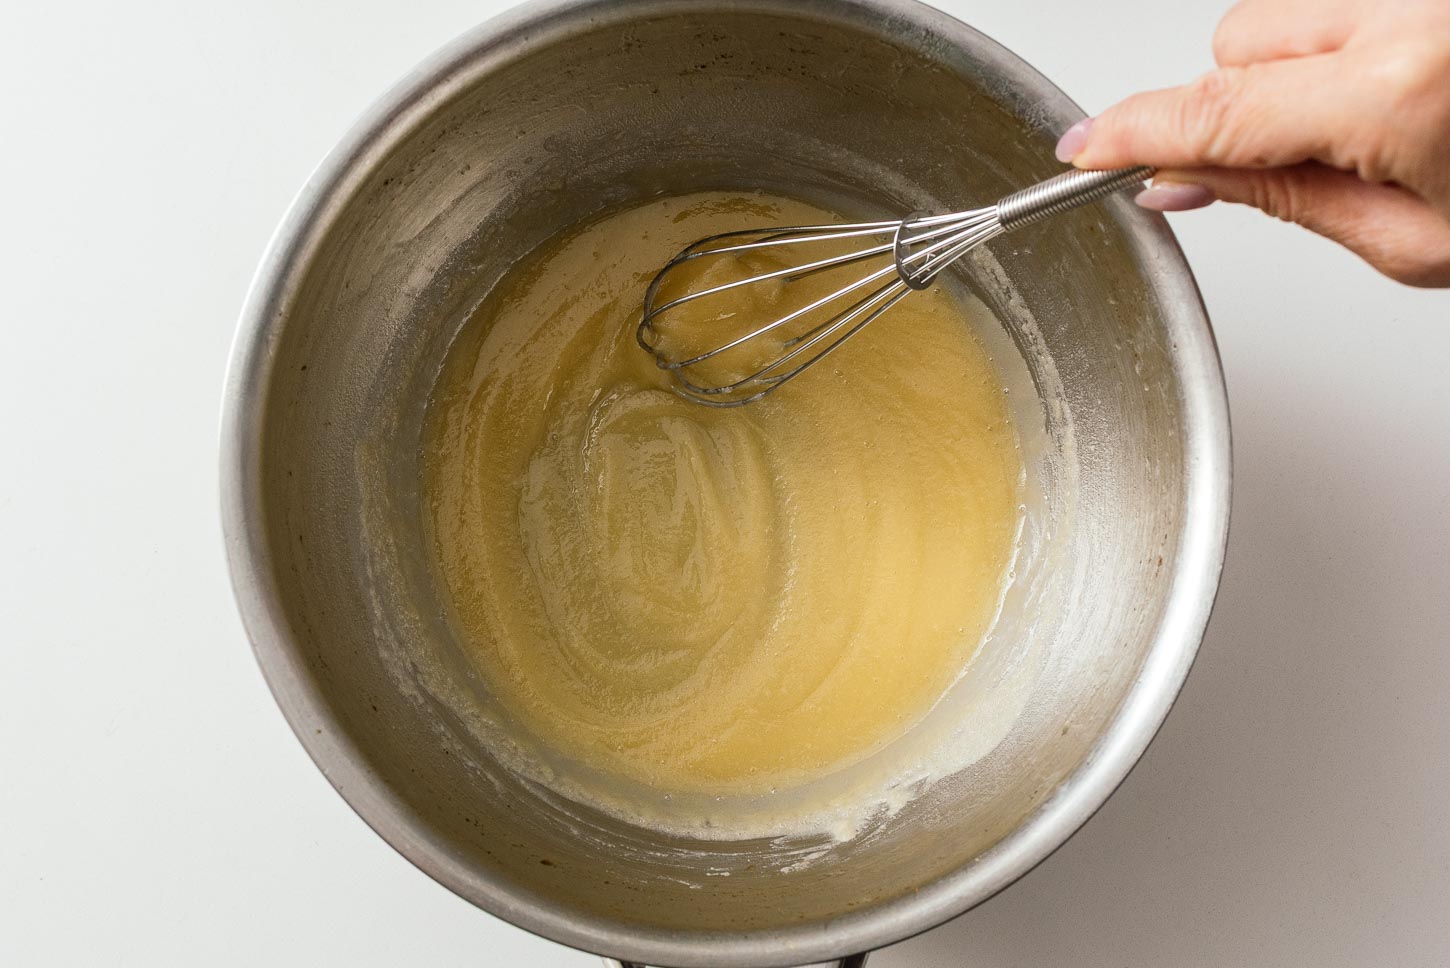
Now that we have a flavorful, seasoned turkey stock, it’s time to make the roux. Into your same (now empty) pan, melt your butter over medium-low heat, stirring occasionally. When the butter is completely melted, sprinkle on the flour. Use a whisk to whisk the flour into the butter. The butter will foam and bubble. Continue to cook, whisking, until the roux is golden, bubbly, and smells nutty, without any floury notes (2-3 minutes). Take your time with this, if you’re worried about cooking the roux too far, just turn the heat down to low and continue to whisk.
Stock
Over medium heat, slowly stream in 1/2 a cup of stock and whisk into the roux. The stock will combine with the roux and everything will become a thick paste. This is what you want. Continue to pour in another 1/2 cup of stock and whisk until smooth. It will still be thick, we’re aiming for a smooth, thick paste. Slowly stream in the rest of the stock and whisk.
Thicken
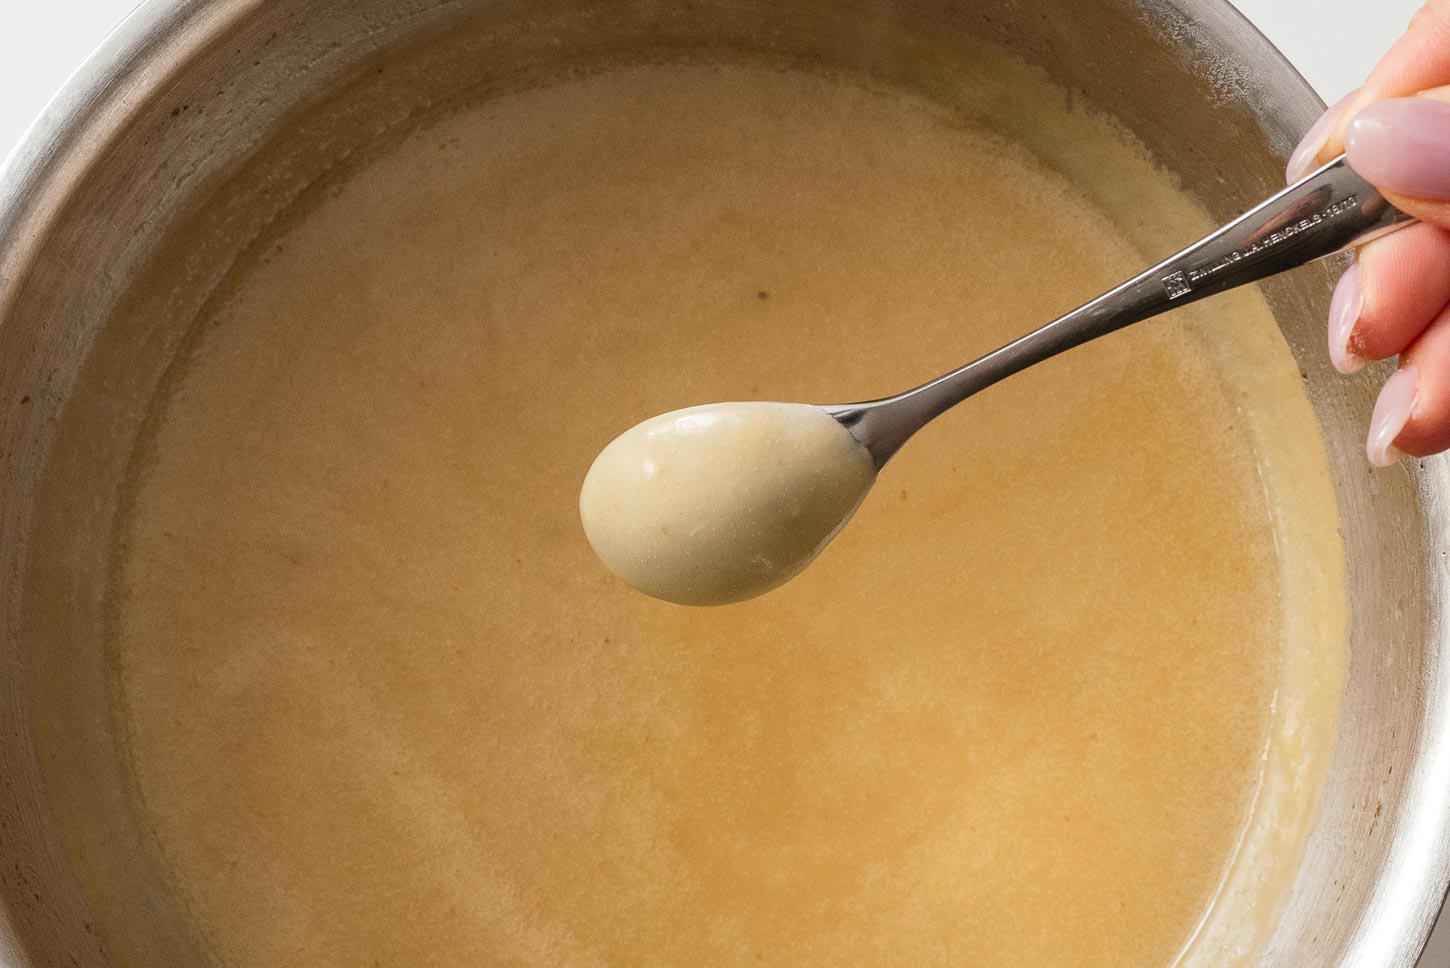
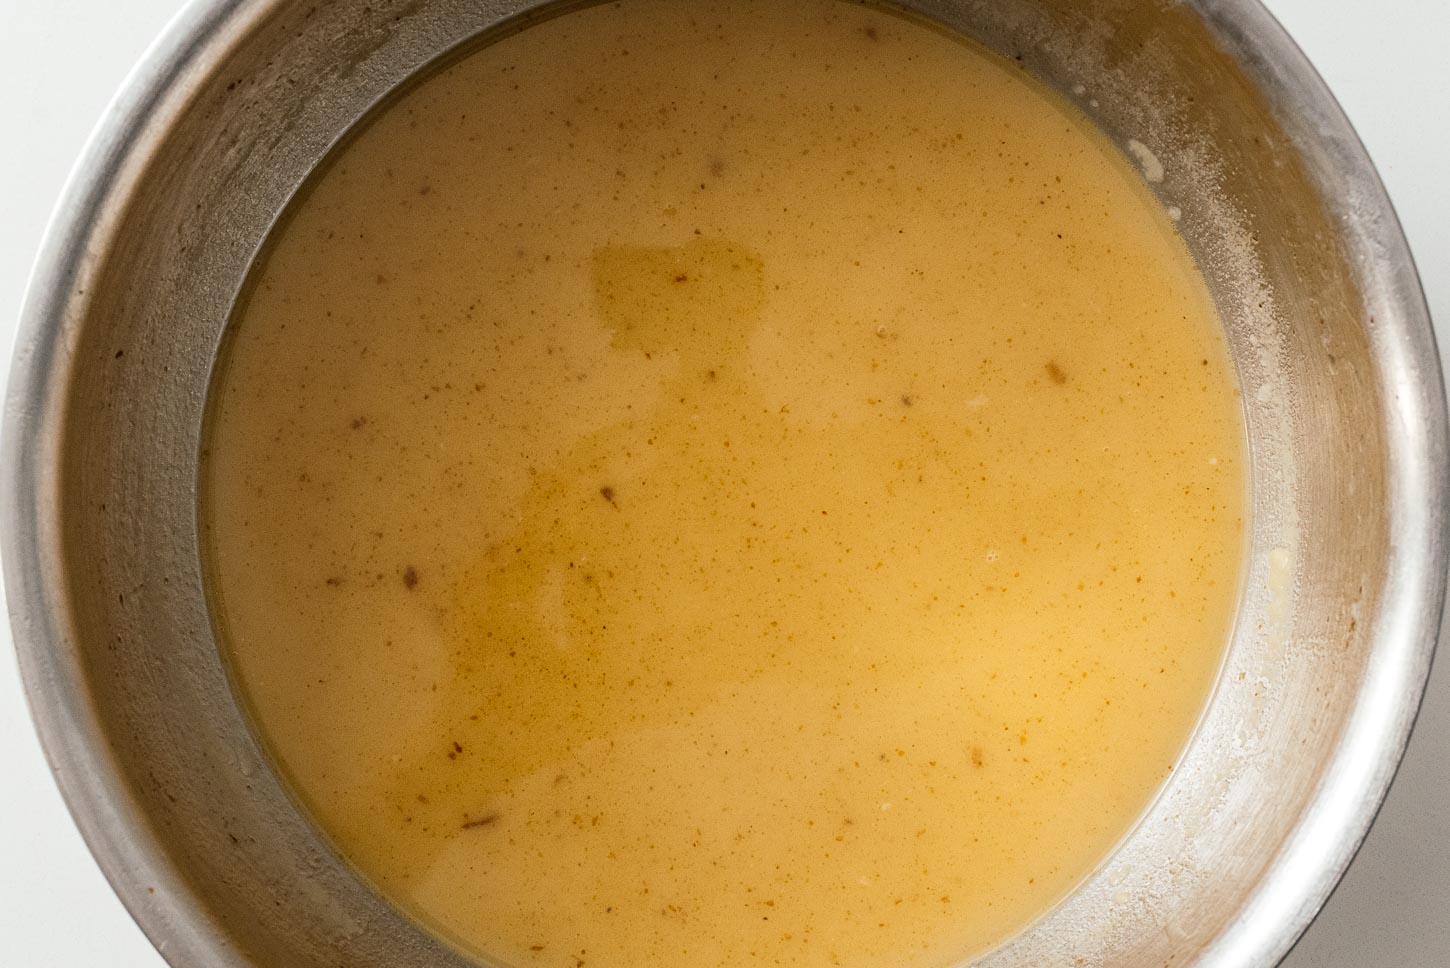
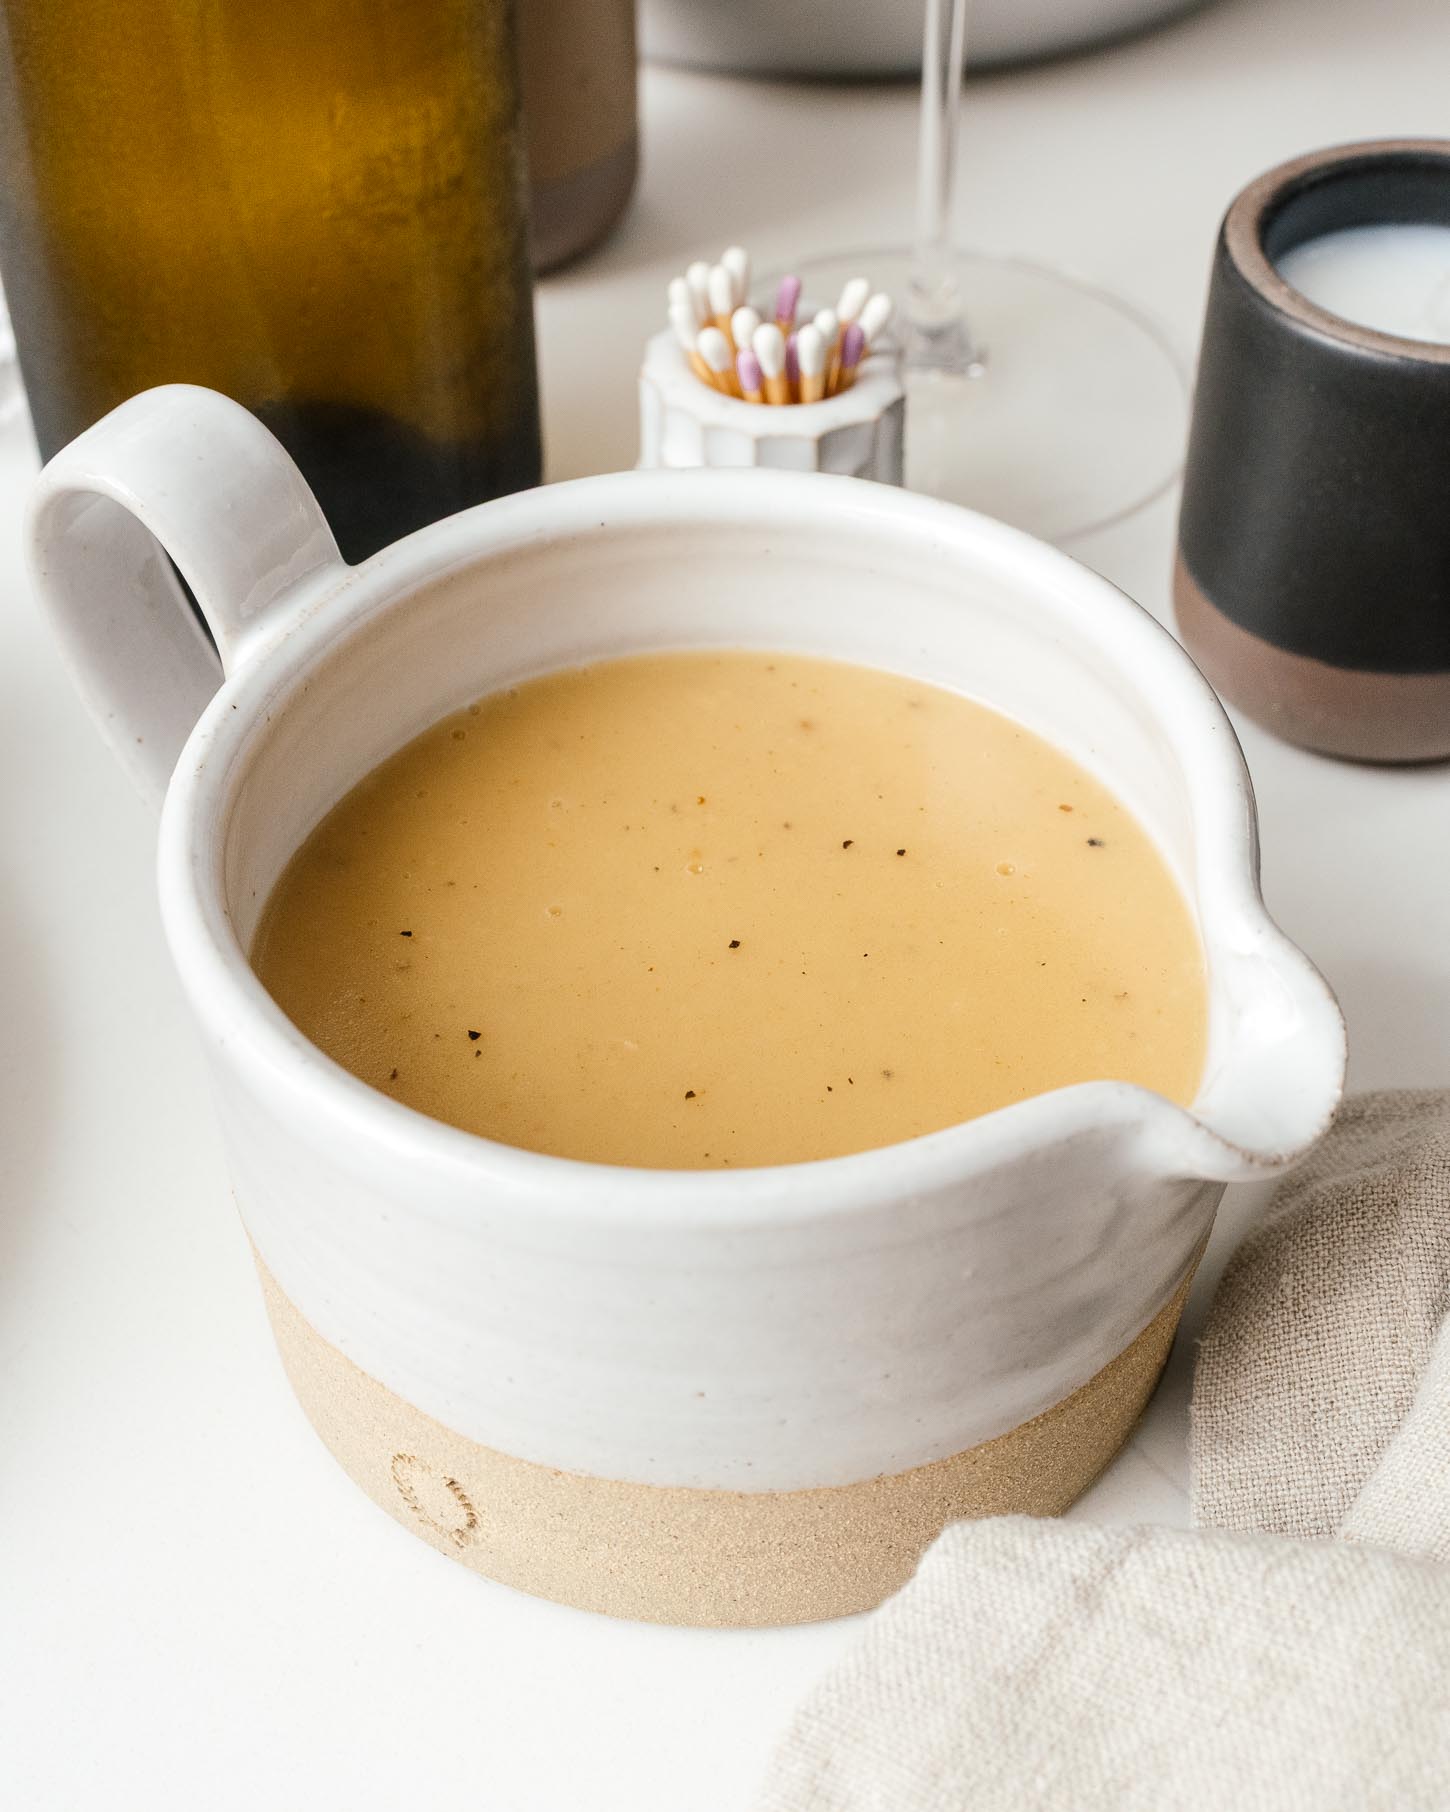
Whisk occasionally, while the gravy simmers. You need the gravy to come to a boil before it thickens properly. Whisk, and let the gravy simmer (you should see bubbles) for at least 2-5 minutes, depending on the heat of your stove. The gravy will become thick and become slightly opaque. It should coat the back of a spoon.
Season
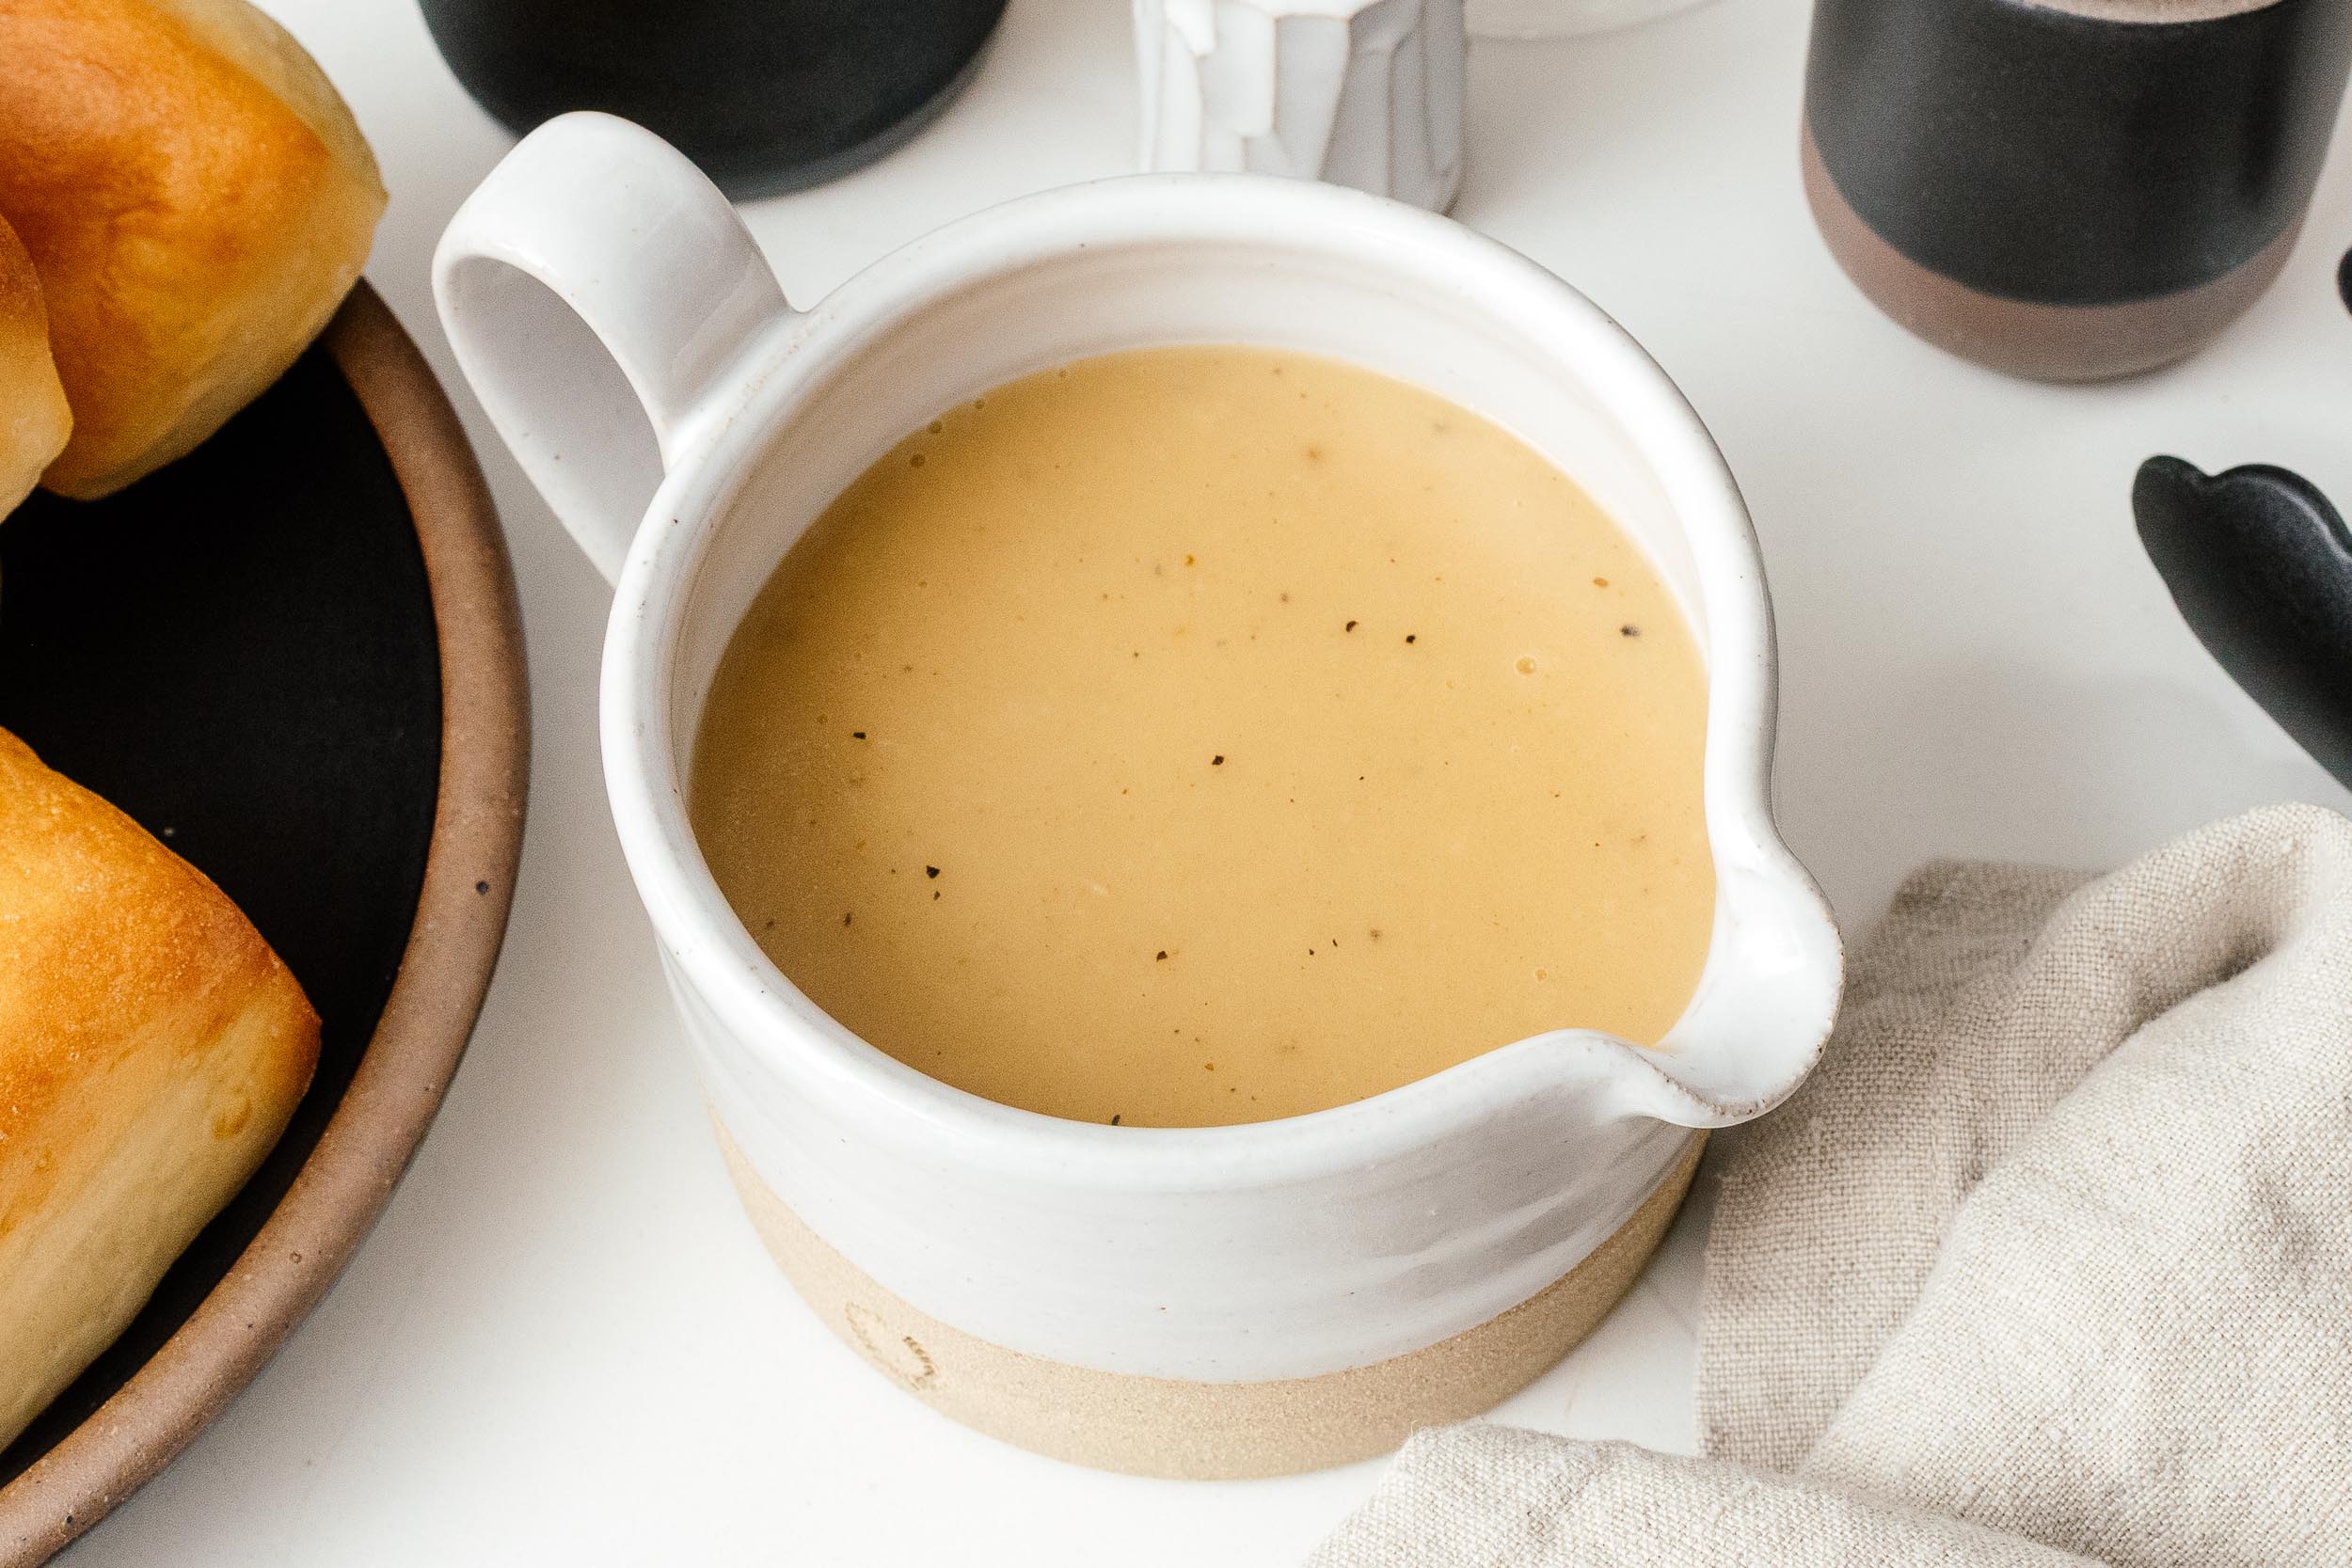
Take the gravy off the heat and carefully taste and season with salt and pepper. If you plan to add pan drippings on the day, go a little lighter on the salt because the drippings will add more. Let cool at room temp, stirring from time to time to release the heat. Pour into an airtight container and if desired, use a piece of parchment placed directly on the surface of the gravy to prevent a skin from forming. Personally, I have no issues with gravy skin as it’s easy to whisk back in, but if you have feels, the parchment takes care of it.
Storage
Make-ahead gravy will keep in the fridge for up to 3 days and in the freezer for up to 3 months. Use a large enough container as liquid expands when frozen. The chopped turkey meat, if you went that route, keeps for 3 days in the fridge and can be frozen inside the gravy too.
If you do want to add drippings, you can make just the stock ahead instead. It keeps the same as the gravy, and then make the roux with the drippings instead of butter in about 15 minutes on the day of.
If you’re a gravy fiend like me, you can freeze leftover gravy in a muffin tin, then pop them into a freezer bag. Some will say use an ice cube tray, and if that’s all you have, then sure, but I think a muffin tin-sized portion is superior.
How to serve
On the day you want to enjoy your gravy, remove it from the fridge (thaw it in the fridge overnight if frozen) and heat it up in a sauce pan. Whisk over medium-low heat until the gravy is loose, then bring to a simmer. Stir in the chopped turkey meat now, if you haven’t yet. If needed, whisk in a splash of stock, water, or reserved gravy stock to thin out the gravy. If you forgot to thaw it, you can reheat it straight from frozen over low heat with a splash of water, whisking once it melts, about 20 minutes.
Frequently asked questions
How to add pan drippings to make-ahead gravy
On the big day, if your turkey pan has lots of yummy drippings, deglaze with a bit of stock or water making sure to scrape up all the caramelized bits. Strain the drippings through a fine mesh strainer. If there’s a layer of fat on the liquid, scoop it off and save it for roasting potatoes. Pour the pan drippings into your gravy and bring the gravy up to a simmer and reduce, until it reaches the desired thickness. Taste before adding any salt because drippings, especially if you brined your turkey, can be pretty salty.
If you know you are going to have drippings, you can actually just stop at the stock stage, refrigerate that, then use the dripping fat to make a roux and skip the butter entirely.
What if I don’t have turkey drippings?
No worries, you don’t need drippings because this turkey gravy gets all of its flavor from turkey stock that you make before you even heat your oven for roasting.
Can I make ahead gravy with turkey wings?
Yes, turkey wings are amazing for making gravy, it’s the exact same process as the recipe with neck or backbone.
Why did my gravy turn to jello in the fridge?
If your gravy is solid and jiggly straight from the fridge, don’t worry, it’s because you did it right. The gelatin from the turkey bones sets when it’s cold. All you need to do is heat up the gravy in a pan, with a small (1-2 tbsp) splash of water or stock, while whisking.
Why isn’t my gravy dark?
Turkey gravy is naturally lighter than beef gravy. The color in this gravy comes from the fat, the roux, and the stock. Since we’re using butter for our fat, our gravy is going to be lighter than if you were using beef drippings from a roast that has been cooking for a long time.
If you want a darker gravy, you can toast the roux longer, until it’s a light nutty brown. You can also roast the turkey neck/backbone/wings until they are deeply brown, but going too toasty will make the gravy a little bitter. Last tip, add a tiny bit of soy sauce. It will add color and umami.
Why does my gravy taste floury?
Either the roux wasn’t cooked long enough or the gravy never came to a boil. For the roux, you want to make sure the flour and butter toasts and bubbles. It will change in color, becoming a slightly tan yellow, with lots of foaming and bubbling, and starts to smell nice and nutty.
Troubleshooting
How to fix floury gravy
You can fix the floury taste by gently simmering the gravy. It may take up to 20-30 minutes but check every 5 minutes or so. Eventually, the flour will gelatinize and cook away and it will taste amazing again. If the gravy becomes too thick, add a splash of water or stock to thin it out, whisking well to incorporate.
My gravy got dry on top
Personally, I have no issues with gravy skin as it’s easy to whisk back in, but if you have feels, you can peel it off and discard the skin or hopefully you pressed parchment paper or plastic wrap against the gravy before storing.
My gravy is too thin
First, try bringing the gravy up to a boil. Gravy needs to simmer/boil in order for it to thicken. If you bring it to a boil and it doesn’t thicken, don’t worry. You can add roux to gravy even when it’s already been made. Simply grab the smallest cooking vessel and make more roux (I usually go for 2 tablespoons each of flour and butter).
Bring your gravy up to a simmer over medium heat and by the spoonful, add in a bit of the roux. Let the gravy come to a simmer (you should see active bubbling) and assess if the gravy is thick enough. If needed, use all of the roux you made, but start out by adding it in slowly.
My gravy is too thick
Add the gravy to a saucepan and whisk in water or chicken stock or the turkey stock you might have reserved when you made it. Add by the 1/4 cup while keeping on a simmer over medium heat. Whisk, adding more liquid, little by little, until you achieve the gravy thickness you desire.
My gravy is lumpy
Take it off the heat and whisk hard. If it’s still lumpy, pour it through a fine mesh sieve or give it a quick blitz with an immersion blender.
My gravy is too salty
Whisk in unsalted stock or water and bring it back to a simmer. If that makes it too thin, thicken it with a spoonful of roux (see above).
My gravy looks grainy after freezing
Flour-thickened gravy can look a little split when it thaws. Whisk hard as it comes up to a simmer and it’ll come back together. An immersion blender works too.
Make-ahead Thanksgiving
Gravy needs something to go on. Here’s the rest of our make-ahead Thanksgiving:
Make more gravy
Whew, that was a lot of words for something so simple, but hopefully this creates perfect, stress-free gravy for you every time. I love smothering everything in gravy, especially leftovers, so I always try to make a little more than I need.
I think I need to start meal prepping gravy. Can you imagine? Little single-serve size containers of gravy ready to go whenever, wherever?
Gravy. It’s the good stuff.
xoxo steph

- 2 lbs uncooked turkey neck and backbone and/or wings
- 2 tbsp neutral oil divided
- 1 large onion ~1 cup roughly chopped onions
- 1 large carrot ~1cup roughly chopped carrots
- 4 stalks celery ~1 cup roughly chopped celery
- 1 bay leaf
- 6 tbsp butter
- 6 tbsp all purpose flour
-
Heat the oven to 350°F.
-
Add the turkey pieces to an oven safe pan in a single layer. The ideal pan is a metal handled deep 10-inch saute pan (about 5 quarts) that you can deglaze on the stove top. Chop the turkey pieces to fit, if needed, then lightly season with salt and pepper and drizzle with 1 tbsp oil. Roast for 1.5 – 2 hours, or until the turkey bits are golden and deeply caramelized.
-
Remove the pan from the oven and set aside the turkey bits. If desired, carefully deglaze the pan with 1/4 cup water, using a wooden spoon to scrape up the fond. Pour the fond into a measuring cup and set aside.
-
Add 1 tbsp oil to the same pan (or a large sauce pan if you didn’t have a metal handled pan) over medium high heat. When hot, add the onions, carrots and celery. Cook, stirring occasionally, until they start to sweat, about 5 minutes.
-
Add the roasted turkey bits into the pan, along with any of the fond scraped up earlier. Cover with 6 cups of water. Add the bay leaf and bring to a simmer, uncovered, for minimum 1.5-2 hours, or until the stock reduces by about half.
-
When the stock is done, remove the turkey neck and backbone pieces and set aside to cool. Scoop out the vegetables and discard. Strain the turkey stock with a fine mesh sieve, straight into a large liquid measuring cup. You should have about 3 cups of stock. If you don’t, add chicken stock to top it up to 3. Taste and lightly season with salt and pepper.
-
Optional: When the turkey bits are cool, harvest off any meat and roughly chop. Place in an airtight container and store in the fridge.
-
In the same pan, now empty, melt 6 tbsp butter over medium-low heat. Evenly sprinkle on the flour and whisk, while cooking, until the roux is golden and bubbly, about 2-3 minutes.
-
Slowly stream in 1/2 a cup of stock, whisking as you go. At first, the gravy will be thick and lumpy, continue to whisk and add in another 1/2 cup of stock while whisking. The gravy will form a thick, smooth paste. Add the remaining 2.5 cups of stock and whisk.
-
Turn the heat up to medium and bring the gravy to a boil, then simmer, whisking, for 2-5 minutes, until it’s thick and coats the back of a spoon. Taste and season with salt and pepper.
-
Remove from the heat and let cool for 20-30 minutes. Pour into an airtight container and optionally press a piece of parchment paper directly on the surface of the gravy to prevent a skin from forming. Put the lid on and place in the fridge for up to 3 days or the freezer for up to 3 months.
-
To reheat and serve, thaw overnight in the fridge if frozen, then add the gravy, along with the chopped turkey meat, if desired, to a sauce pan. Warm, over medium-low heat, while whisking, until smooth and glossy, then bring to a simmer. Taste and season with salt and freshly ground black pepper. Enjoy warm with turkey!
Nutrition Facts
Make Ahead Turkey Gravy
Amount Per Serving
Calories 78 Calories from Fat 56
% Daily Value*
Fat 6.2g10%
Saturated Fat 3.8g24%
Cholesterol 17mg6%
Sodium 112mg5%
Potassium 68mg2%
Carbohydrates 3.7g1%
Fiber 0.1g0%
Sugar 0.4g0%
Protein 1.9g4%
* Percent Daily Values are based on a 2000 calorie diet.